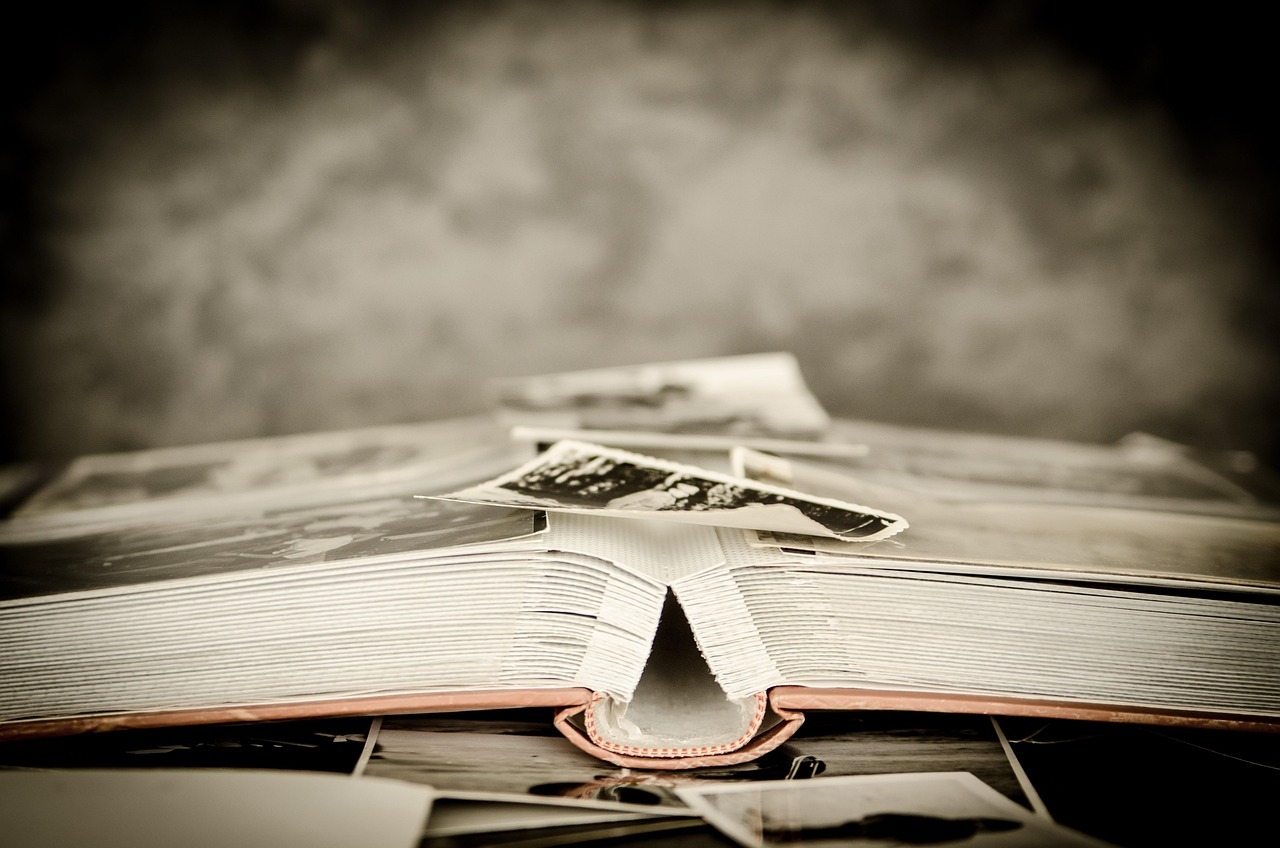
Family memories are among the most irreplaceable things we own, yet countless photographs silently fade, yellow, and crumble in forgotten shoeboxes—or quietly deteriorate on aging hard drives. The physical photo book has emerged as one of the most dependable ways to safeguard a legacy across generations, offering something no folder of digital files ever quite can: a tangible, holdable record of a life actually lived. This article walks through the key strategies for creating photo books built to last, from choosing archival materials and applying sound design principles to building hybrid preservation systems. The central idea is simple—a well-crafted photo book combines archival standards with genuine storytelling to ensure memories endure.
Introduction
Why Traditional Photo Storage Falls Short
Magnetic albums, lignin-rich scrapbook pages, and shoebox storage all pose serious risks to photographic prints. Lignin, an organic compound found in standard wood-pulp paper, releases acidic byproducts over time, causing photographs to yellow and turn brittle. Adhesives break down, leaving residue that permanently bonds to print surfaces. Environmental exposure makes things worse: albums stored in attics or basements face moisture, pests, and wild temperature swings that accelerate every form of deterioration. Photo restoration work tells the story plainly—yellowed adhesive from vintage scrapbooks has permanently altered the print surfaces beneath. Non-archival materials are the primary driver of premature decay; professionally produced photo books counter this by pairing fade-resistant inks with acid-free papers engineered for superior longevity.
Essential Materials for Lasting Photo Books
Archival-Quality Papers and Inks
The foundation of any durable photo book is lignin-free, acid-free paper—ideally pH neutral or alkaline-buffered at around pH 8.5. These properties directly prevent the brittleness and discoloration that plague standard paper over decades. Paired with fade-resistant archival inks and high-resolution printing, the result is an image that holds its visual vibrancy long after it rolls off the press. For loose inserts within a photo book, uncoated polyester or polypropylene sleeves protect print emulsions from chemical transfer and surface abrasion.
Durable Binding Techniques
Layflat binding—which allows pages to open completely flat without a crease forming down the center—provides exceptional structural integrity for heirloom-quality books. Unlike conventional glued bindings that crack under repeated use, professional layflat methods distribute mechanical stress evenly across the spine. Heat and humidity fluctuations cause materials to expand and contract at the molecular level, and stable, professionally applied bindings significantly reduce warping and page separation over time.
Step-by-Step Guide to Creating Your Photo Book
Selecting and Preparing Photos
Start by digitizing original prints at high resolution—600 DPI is the broadly accepted minimum—handling prints by their edges only to avoid transferring skin oils to the emulsion. This creates essential backups before any physical handling begins. From there, organize images chronologically or thematically to build a coherent narrative, and cull duplicates with intention. The goal is purposeful storytelling, not an exhaustive inventory.
Designing for Impact and Preservation
Keep layouts clean and uncluttered, using captions on acid-free pages to provide context without overwhelming the imagery. A practical approach used by preservation specialists is to produce two versions of a photo book: one pristine archival copy and a second for creative embellishments. When researching production options, explore high-quality photo books online that prioritize durable materials and professional finishes, ensuring the finished product meets archival standards rather than relying on consumer-grade materials prone to early degradation.
Hybrid Preservation: Physical Meets Digital
Embedding QR codes or links to digital archives within your photo book creates a multi-format preservation system resilient to both hardware failure and physical damage. Store finished books in archival clamshell boxes lined with buffered tissue paper for an added protective barrier against dust, light, and everyday mechanical wear.
Proven Preservation Practices for Longevity
Environmental conditions play a decisive role in long-term preservation. Archivists recommend storage spaces maintained at 65–70°F (18–21°C) with relative humidity below 50%, shielded from light and the temperature swings common to attics and basements. Handle photo books with clean hands or lint-free cotton gloves, and steer clear of tape, staples, or rubber bands near prints—each one introduces acidic residue or rust. University library conservators consistently advocate photo corners over adhesives for reversible, damage-free mounting, a principle that applies just as well to personal heirloom books.
Common Mistakes to Avoid
Several errors undermine even the most well-intentioned preservation efforts:
- Using non-archival albums or laminating pages, which traps moisture and accelerates decay
- Over-decorating a single copy without maintaining a clean backup, risking irreversible loss
- Neglecting original negatives, which should be stored separately in cool, dry, acid-free containers
Before wrapping up any photo book project, verify that all materials are acid-free, ensure storage is elevated off floors, and confirm that the environment maintains consistent temperature and humidity.
The photographs sitting in drawers or aging on forgotten drives today represent irreplaceable stories. By applying these archival principles—careful material selection, thoughtful design, and controlled storage—those stories can remain vivid and intact for generations to come.